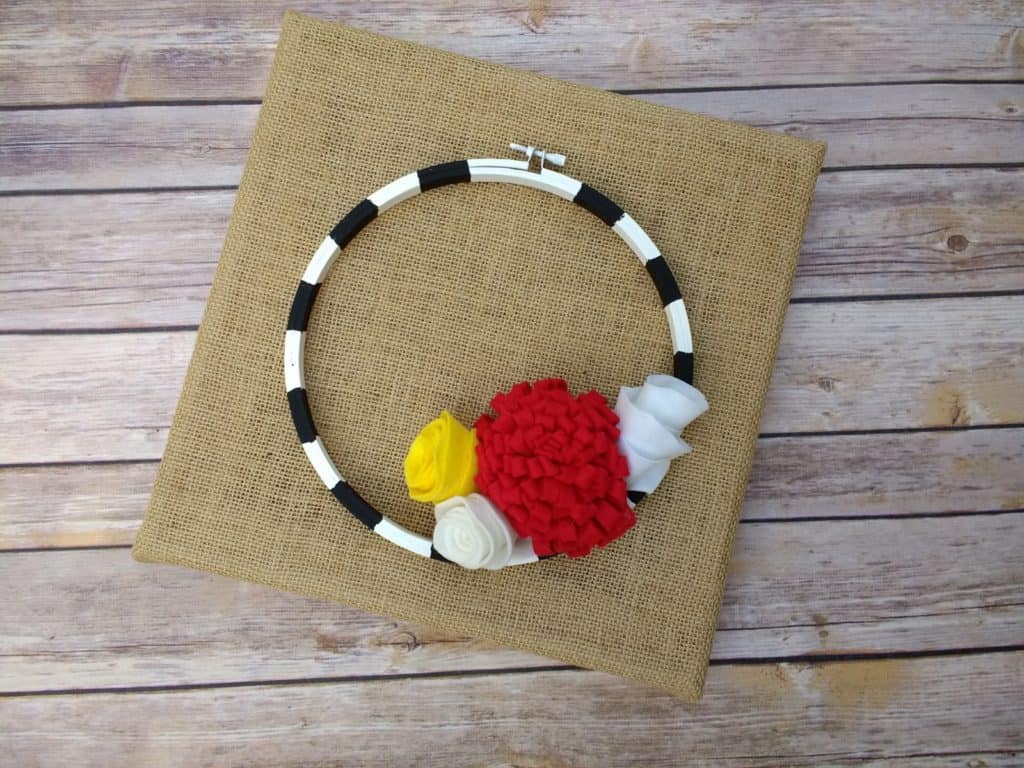
My go-to craft supply is anything that is upcycled. I love to give things a new life. I’ve been collecting embroidery hoops from thrift stores for a while now. They just sit in a pile because I’m waiting for inspiration to strike. And strike it did. Here’s my newest take on DIY Embroidery Hoop Art.
This post contains affiliate links for your convenience. I will receive a commission if you purchase from these links. Thank you.
DIY Embroidery Hoop Art Supply List
- 12 x 12″ stretched burlap canvas panel
- embroidery hoop
- acrylic paint
- foam brushes
- sheets of felt
- hot glue gun
- fishing line or needle and thread
DIY Instructions
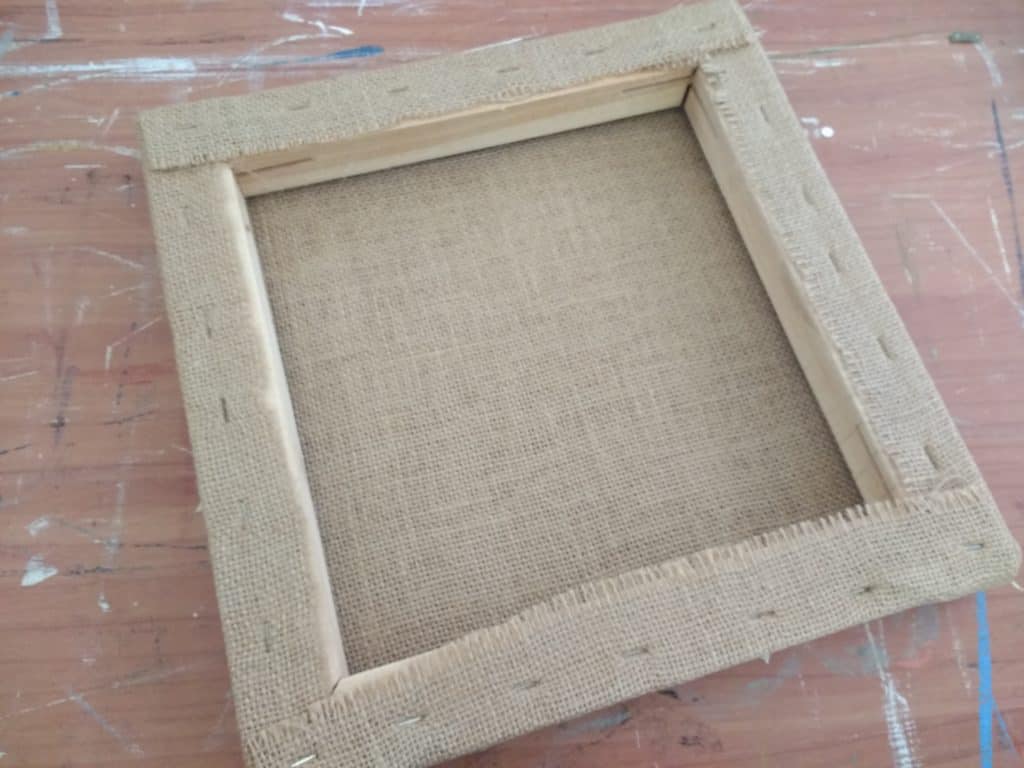
This hoop art is constructed on a 12 x 12″ stretched burlap panel. This gives the piece a finished 3D look since it is about 1.5″ thick. Here’s what the back looks like. If you don’t want to purchase this, you could always make your own by stretching and stapling burlap or another fabric to a wood frame.
If you want to paint your embroidery hoop, do that now. First I painted the whole hoop white, then when it was dry I added black stripes.


Attach the embroidery hoop to the burlap canvas panel by inserting a piece of fishing line through the burlap and tying a knot in the back. You could also use a needle and thread to do this.
Next, create your felt flowers. Check HERE for links to the flower tutorials I used.

Glue the embroidery hoop onto the burlap canvas in a few spots to stabilize it.
Glue the felt flowers onto the burlap and hoop to create a small wreath framed on the canvas.
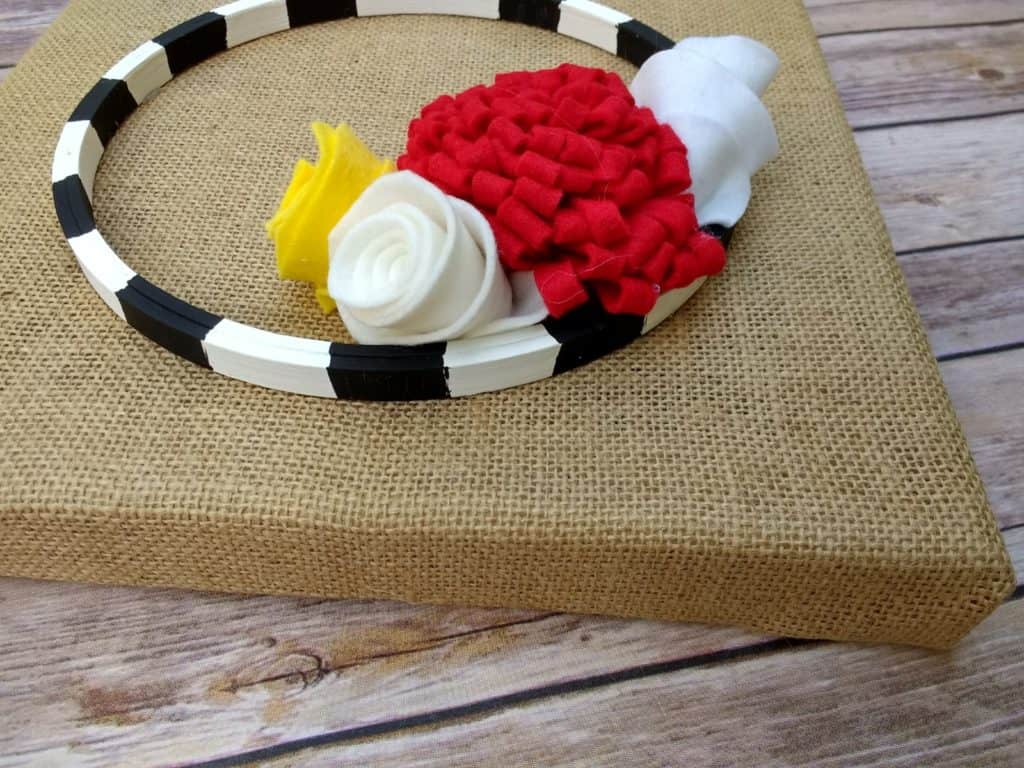
That’s it! I’m all about easy crafts that anyone can do. These DIY Embroidery Hoop Canvases are easy to customize by changing out the colors of the flowers or the colors of the hoop. If you make one, tell us how it turned out. And if you want to purchase this one, you can find it in my Etsy shop.

For my most popular wreath ever, check out my Nevermore Raven Wreath.
Be sure to follow on Pinterest!
