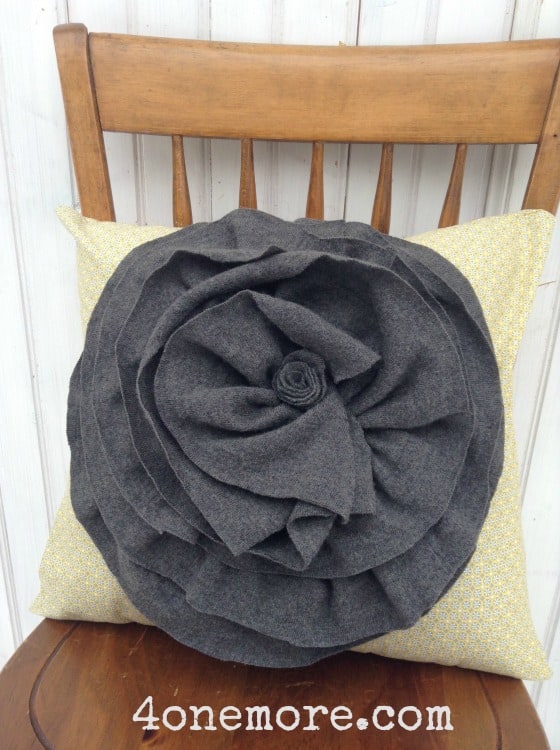
Today’s DIY pillow tutorial shows you how to turn an upcycled knit top into a gorgeous oversized flower on a simple pillow cover.
And the good news? Perfect sewing skills aren’t needed for this project.
(This post contains affiliate links, which means at no extra cost to you, I may make a commission from purchases from these links. Thank you for the support.)
This project is great for upcycling one of those tired sweaters you have in your closet that you’ve worn all season and are planning to put in the “donate” pile anyway.
Supplies
So, here’s your supply list: {measurements are for a 16″ square pillow}
Cotton fabric 37.5 x 15.75 inches
Upcycled sweater or jersey knit top cut into 3.5 inch strips {roughly 120 inches total length}
Step 1: Make your envelope pillow cover
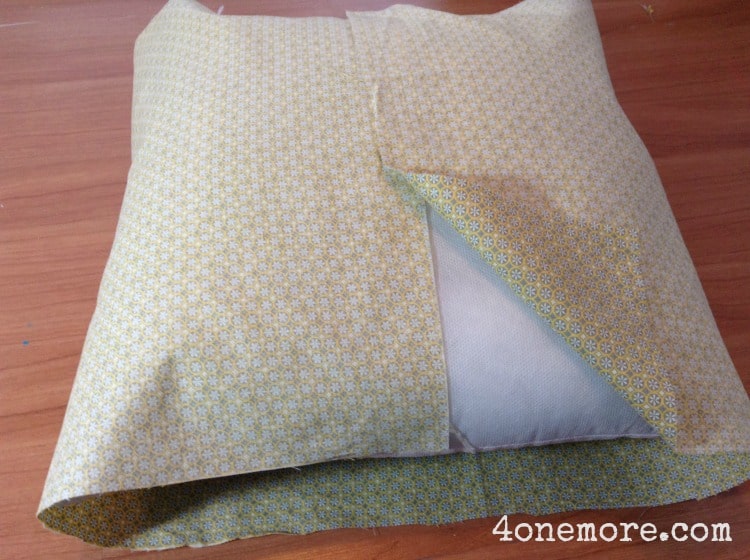
I had a cute cotton quilting fabric in my stash with little grey, yellow, and white geometric designs that I knew would help my grey floral front to pop. So, I cut that fabric out into a 37.5 x 15.75 inch rectangle, then folded the short edges over and ironed them. This will make a neat edge at the pillow opening. You can also straight stitch the folds you make.
I made the mistake of sewing my pillow cover together at this point, which caused more difficulty than necessary when sewing on the big bloom. I would recommend finding the center of your pillow cover and moving on to Step 2.
Step 2: Cut your strips
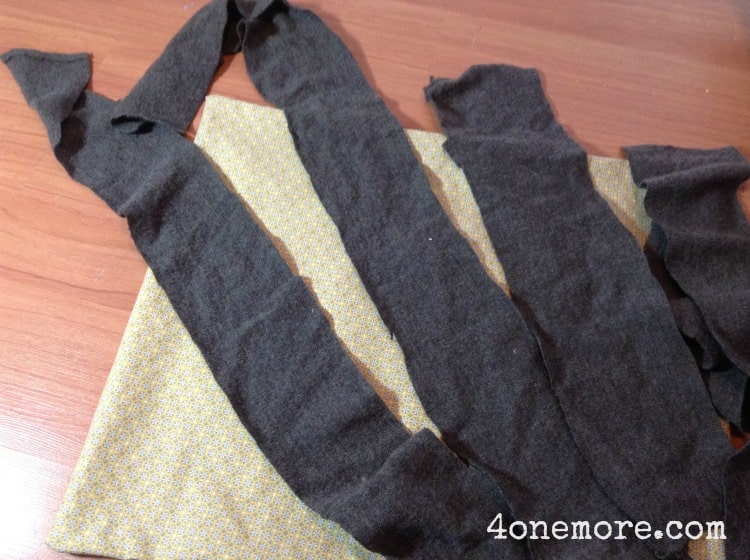
I used an up cycled wool sweater that had been felted. It was lightweight, which made it easier to manipulate and sew on than a thick chunky sweater. You could also up cycle an old jersey knit top or skirt. Check your local thrift store for some fun options.
I kept cutting strips out of the grey sweater until I had about 120 inches worth of them. They measured about 3 1/2 inches thick.
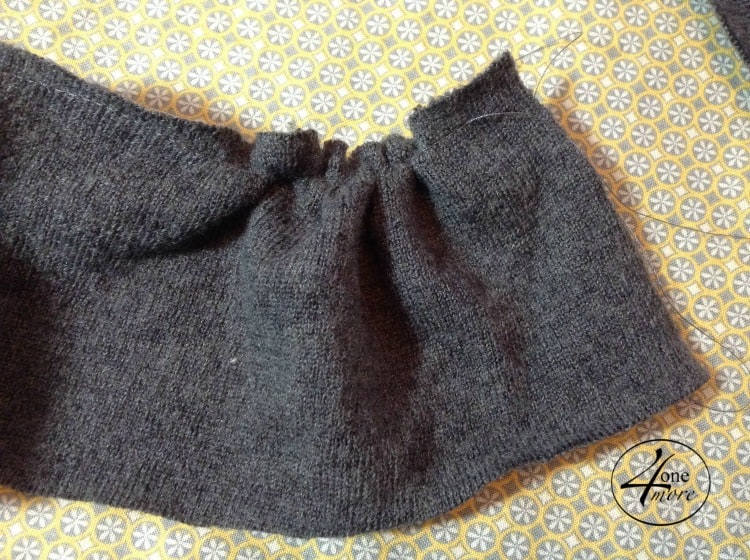
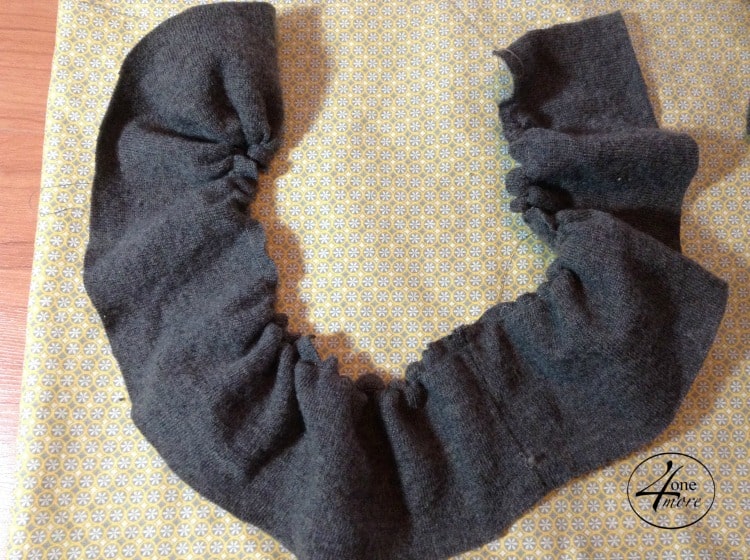
Next you will want to run a long stitch to gather the strips. Make sure you leave several inches of thread at each end, then stitch about 1/8 inch from the edge of the fabric. Don’t backstitch. You will use these threads to gather the fabric so it puckers. Don’t worry if it’s not perfect — this pillow is great at hiding imperfections!
Step 3: Trace a circle
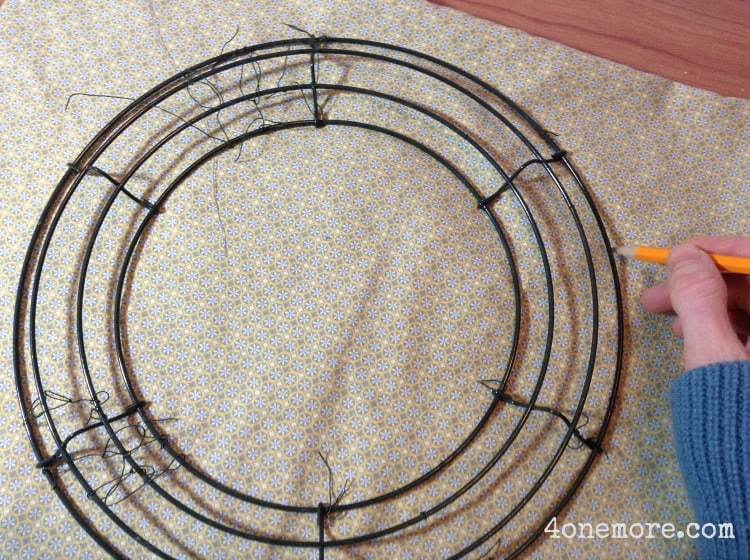
Now on the center of the front of your pillow, with right side facing up, trace a circle onto your fabric. This will help you line up your fabric strips in the next step.
Step 4: Start sewing the sweater strips
Here’s where things can get a little crazy, but just tackle it little by little. Starting with the circle you just drew onto your fabric, line up the first sweater strip so the edges cover the markings.
Start sewing the strip on near the top where you did the gathering stitch. Again, don’t worry if it’s not perfect because your other strips will eventually cover these strips.
Keep sewing the strips onto the pillow, gradually moving the design in toward the center. Just make sure each time you add a new layer of strips, they are covering the stitching done on the previous layer. Overlap the short edges of the strips. Nothing too perfect here.
Eventually, you will not see your pillow fabric anymore in the center. That means you’re almost done. It will look something like this.
Step 5: Finish the bloom
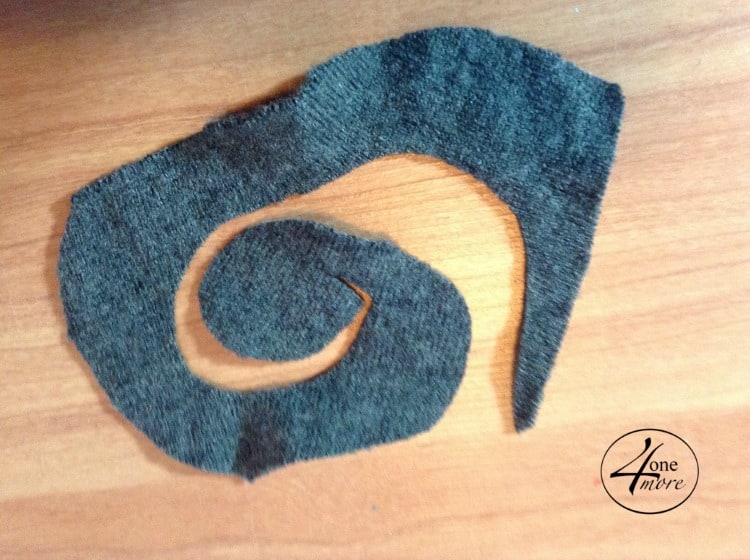
Did you make it this far? Seriously, the hardest parts are over. Cut a circle with a 3 inch diameter out of your sweater or jersey knit fabric. Spiral cut it like this.
Now, fashion a loosely rolled flower and tack into the center by hand stitching.
Step 6: Sew your pillow cover together
Yes! With your beautiful bloom inside, and right sides facing together (and making sure your pillow form will fit inside), sew the top and bottom of your cover together. This is an envelope style opening in the back, so some of the back fabric will naturally overlap.
Turn right side out, pop that pillow form in, and admire your bloom! This is such a fun pillow for spring.
Have you ever made a pillow like this? Will you be trying one this spring?
Check out my DIY Pinterest board for more projects like this one.







I love it, Abby! Your colors are perfect for spring. I have had this project on my to-do list for a couple of years now and you have inspired me to finally get to it.
Yay, Kirsten! I would love to see a picture when you’re done.
This is such a pretty pillow! Thank you for sharing at Inspire Me Wednesday. Featuring you in this week’s issue.
Thanks so much, Mel! I’m honored.