Our daughter came home to us from Ethiopia wearing 12 month sized clothes even though she was 19 months old. But once she settled in and learned to trust us and try new foods, she quickly filled out. Many beautiful outfits have only fit her for a one-time-wear because of how fast she’s put on weight!
What to do with all these memories — the outfit she came home in, the ruffly top she wore around the house the first week, the “cutest little sister” shirt that she wore in Ethiopia when she left the orphanage.
I am happy to be passing along many things from her stash of clothes, but a few of my favorite pieces will find their way into a Memory Blanket.
Memory Blankets combine the best of everything — preserving sentimental pieces in a useful way. Isn’t upcycling fun?
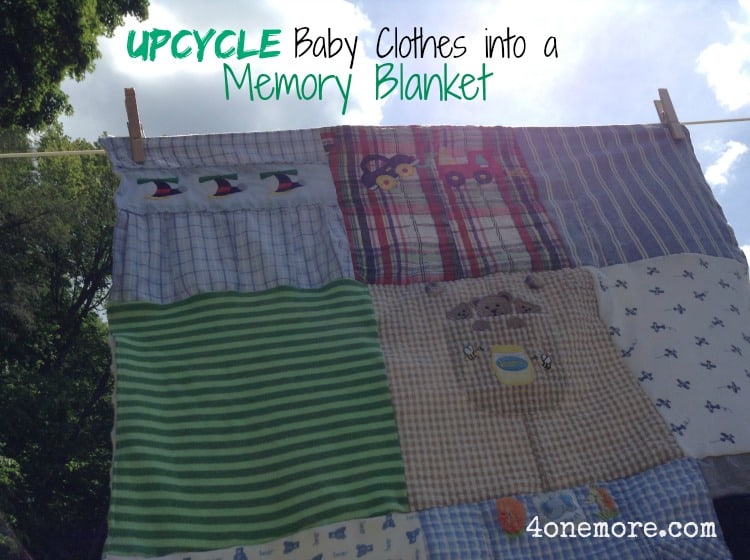
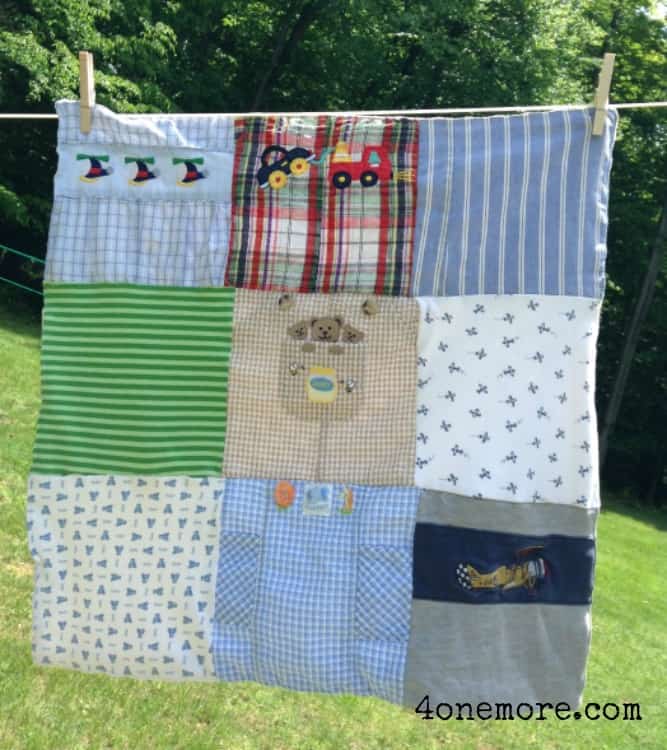
I made Memory Blankets for my boys. I made them rather small — only a 3 x 3 blanket, which measure nearly 24 inches square. But you can make this as big or as small as you’d like.
I wrote a note for each boy and set it and the Memory Blanket in their Memory Bin. Hopefully they will enjoy unpacking it again when they’re parents.
Here’s how do make this blanket. Adjust the measurements to fit your preference.
Step One: Figure out how many squares you need for your blanket and what the dimensions will be. Cut a template out of a cereal box.
Step Two: With your stack of outgrown baby clothes in front of you, use your template to cut the best parts from each outfit. Include pockets and buttons for added fun.
Step Three: Sew your squares together in rows with a simple straight stitch. Sew your rows together until your blanket front is complete.
Step Four: Add a backing to your blanket. Mine use simple white minky fabric. Pin right sides together and sew all the way around, leaving a few inches to turn your blanket right side out. Finish off with a stitch close to the edge of your finished piece.
That’s it! Will you be making this? This would make a great gift for a mom-to-be. Just gift her a certificate for a lovingly handmade Memory Blanket.


